3D Knit Nail Art with Gel Polish

I have been seeing people with these 3D knit nail art on their nails and I love them! I want to try them on my nails as well. I first thought you need to acrylic powder to do it. If so, it would never happen on me as I can't control a damn thing about those acrylic powder. They always go all over the place. I gave up on them. Then I saw some girl speaking in a language that I have no idea what on youtube doing 3D knit nails using gel polish. I quickly thought of the gel polish I got from Korea earlier. Time to put my gel polish to use.
Here are the polishes I used:
Sally Hensen Triple Strong Strengthener
Maybelline Salon Expert Black is Black 700
Etude House Enamel+ing #14
Seche Vite Fast Dry Top Coat
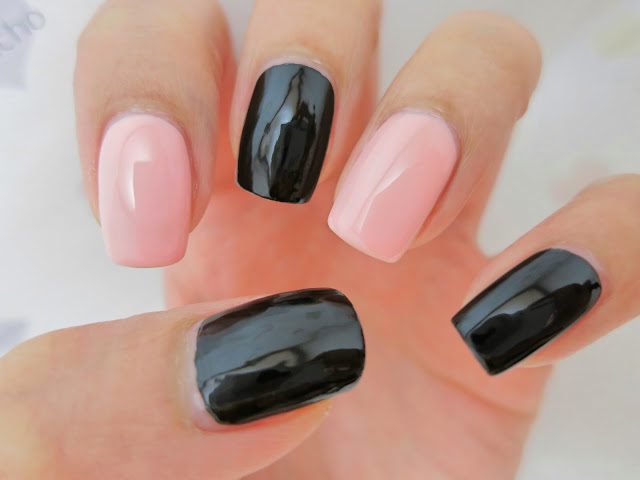
So, I first paint 2 layers of the base color. The black is regular nail polish while the pink is a gel polish so I had to put it under the light.
Then I testing out how I want to made the 3D design on a piece of paper. Always practice if it's your first time.
You have to quick to put your nail under the light as the gel spread very quickly and the design will be messed up. That's what happened on my ring finger. It's better on my index finger as I put my nail under the light after each stroke.
Totally loving this look. I went over each line about 3 times, putting it under the light between each layer to reach this height.
As I don't plan on keep the design on my nails for more than a few days, that's why I used a mix of regular nail polish and gel polish. So, if you plan on wearing the manicure for more than a week, make sure you are using a good gel base and top coat!
Chi
3D Knit Nail Art with Gel Polish
 Reviewed by chichicho
on
April 17, 2015
Rating:
 Reviewed by chichicho
on
April 17, 2015
Rating:


Beautiful
ReplyDeleteNashia
MakeupandBeautyMayhem